

Starting stand-up comedy does not require a perfect origin story, a manager, or a full hour of material. It starts with a few observations you care about, a short set you can say out loud, and one room where you are willing to learn. The first month is less about proving that you belong onstage and more about giving yourself enough repetitions to find out what happens when your point of view meets a live audience.
What starting stand-up comedy actually looks like
Most beginners imagine a big leap: write a polished set, walk into a packed club, and leave with a story worth telling. The real beginning is smaller and much more useful. You notice something that annoys, surprises, or embarrasses you. You write down the most specific version of it. You try to turn that observation into a few possible jokes. Then you say those jokes in front of people and pay attention to what the room gives back.
That cycle is the work. It is why good beginner advice tends to return to the same foundations: write material that sounds like you, get stage time, and revise with care. A beginner guide from working comic Red Grant makes the same practical point: start with jokes rooted in everyday experience, then get onstage. You do not need to feel ready before the first mic. You need enough preparation to make the stage time useful.
Days 1-3: Collect premises before you try to write punchlines
A premise is the point of tension that makes you want to talk. It might be a family rule that makes no sense, a customer-service ritual everyone accepts, the strange logic of a dating profile, or a job you can explain only to people who have done it. A premise is not the finished joke. It is the thing you have noticed that can hold several jokes.
For three days, keep a running list of ten observations a day. Do not judge whether each one is funny yet. Give yourself categories that produce details: things you say differently around your parents, small problems you overreact to, advice you get that nobody follows, routines you have that would look odd to a stranger. Specific beats generic. “My commute is bad” is an opinion. “My train has an announcement voice that sounds proud of every delay” is a place to start.
When you revisit the list, circle the entries that have a clear emotion behind them. Confusion, irritation, shame, relief, envy, and false confidence all give you somewhere to push. Ask what makes the situation unusual, what the audience expects to happen, and what actually happens. Those questions will give you more material than trying to force a joke from a blank page.
Days 4-7: Turn one premise into a short, speakable bit
Choose one premise and write for it in several directions. Start by describing the situation plainly. Then exaggerate the consequence, compare it to something from another part of life, list the rules it seems to have, or imagine what would happen if the logic kept escalating. You are looking for turns, not one magical line.
Write more than you intend to keep. A first draft can be loose and overlong because it is there to reveal possibilities. The next draft gets useful when you cut repeated setup, move the important detail earlier, and let the last few words do more of the work. If you have three jokes about the same idea, put the clearest one first. If a line only explains what the audience already understands, remove it.
Build toward a short set rather than a pile of unrelated jokes. A practical five-minute-set guide from GOLD Comedy recommends organizing bits into a beginning, middle, and end, with a reliable closer. That structure matters because it helps you remember the order, lets the room follow your train of thought, and gives you a clear place to land when nerves arrive.
Week 2: Rehearse the set out loud, not just in your head
Reading jokes silently is useful for editing, but stand-up has a sound. A line that looks tight on a page may be awkward to say, and a phrase that feels ordinary in writing may become funny because of the pause before it. Stand up, use the pace you would use with people, and say the whole bit aloud until you can hear where the sentences get crowded.
Do not try to memorize every comma. Know the order of your ideas, the key words that make each turn work, and the final line of each joke. That gives you enough structure to stay on track without sounding like you are reciting a speech. Record one rehearsal on your phone. The goal is not to criticize every gesture. Listen for explanations you can cut, words you stumble over, and places where you are already rushing toward the laugh.
It also helps to decide what kind of performer you are becoming. The main stand-up styles offer a useful map: maybe your material is built around observations, stories, quick one-liners, or a more physical point of view. You do not need to pick one lane forever. You only need a first set that feels like a real person is saying it.
Week 3: Find an open mic and make the first booking simple
Look for comedy open mics in your area, then check the practical details before you go: sign-up time, whether the list fills early, the expected stage time, venue rules, and whether the room is mostly comics or a general audience. Bring a note on your phone with your set order, but do not bring a page you will have to read word for word. The first goal is to get on the list and stay calm enough to experience the room.
Arrive early, introduce yourself briefly, and watch how the night moves. Notice how comics begin, how long the host takes between names, what the microphone setup is like, and where people stand while they wait. You are not there to compare your first set with the most experienced person in the room. You are there to learn what the room asks of a performer and to make it easier to return.
Many new comics wait until they have a flawless five minutes. That threshold keeps moving. A more useful rule is to perform when you have one clear piece you have rehearsed, then give yourself permission to improve it. The stage will show you what a notebook cannot: where a premise is confusing, where the audience needs one more detail, and where a line gets a response you did not expect.
Your first night: Keep the job small
Your first open mic has one job: complete the set you came to do. It does not have to be your best possible performance. You do not need to explain that it is your first time, apologize for being nervous, or narrate every mistake. Walk up, adjust the microphone, take a breath, and begin with the line you rehearsed first.
When a laugh comes, let it happen. Beginners often step on a response because they are trying to get to the next line. A small pause is not dead air; it is where the audience gets to be part of the set. If a line does not land, keep moving. Do not argue with the silence or explain the joke. You will have time to understand it later, and one quiet moment does not tell you whether the entire idea is weak.
Try to leave the stage with something concrete you can use. Maybe the opening premise got attention but needed a sharper punchline. Maybe the room liked one comparison you almost cut. Maybe you spoke too quickly through the story. Write those observations down before you start judging the performance as a whole. The useful question is not “Was I good?” It is “What should I test differently next time?”
Week 4: Review the set and make one better choice at a time
After each performance, keep a short log. Record the date, room, stage time, material you used, lines that got a response, lines that felt unclear, and one thing you want to try next. This does not need to become a spreadsheet empire. A few honest notes will stop you from rewriting the same joke from memory every week.
Revise one thing at a time. If the first sentence is confusing, fix the first sentence before changing the closer. If a premise works but the punchline is soft, write five new endings before throwing away the entire bit. When a joke gets a laugh, do not assume it is finished either. Look for a stronger word, a cleaner pause, or one extra tag that builds on what already worked.
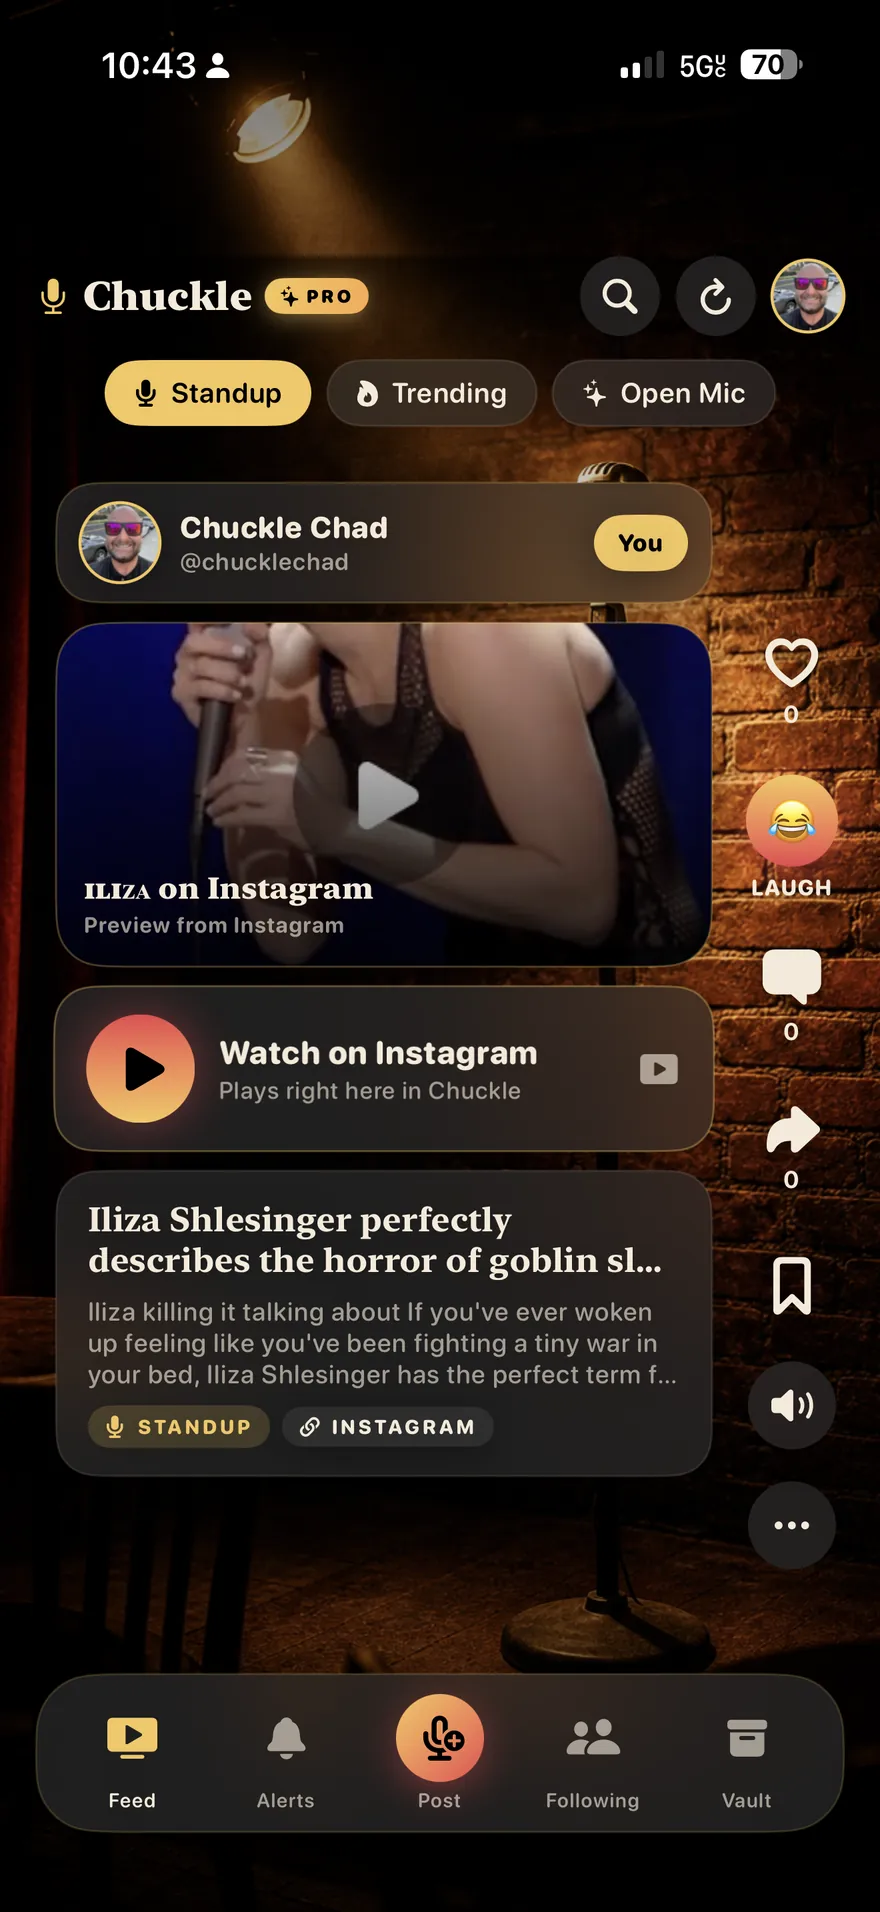
As you build confidence, keep a record of the moments you want to revisit. Chuckle’s Standup and Open Mic feeds make it easier to watch how different comics establish a premise, pace a story, or use a short clip to introduce their voice. Watch for craft, not a personality to copy. The goal is to notice choices you can adapt to your own material.
Build an early audience without pretending you are finished
Once you have a clip that represents the bit honestly, save it and share it where people expect comedy. You do not need to turn every rehearsal into content. A short clip works best when it contains enough setup for a new viewer to understand the turn and enough of your delivery to recognize the person behind it.
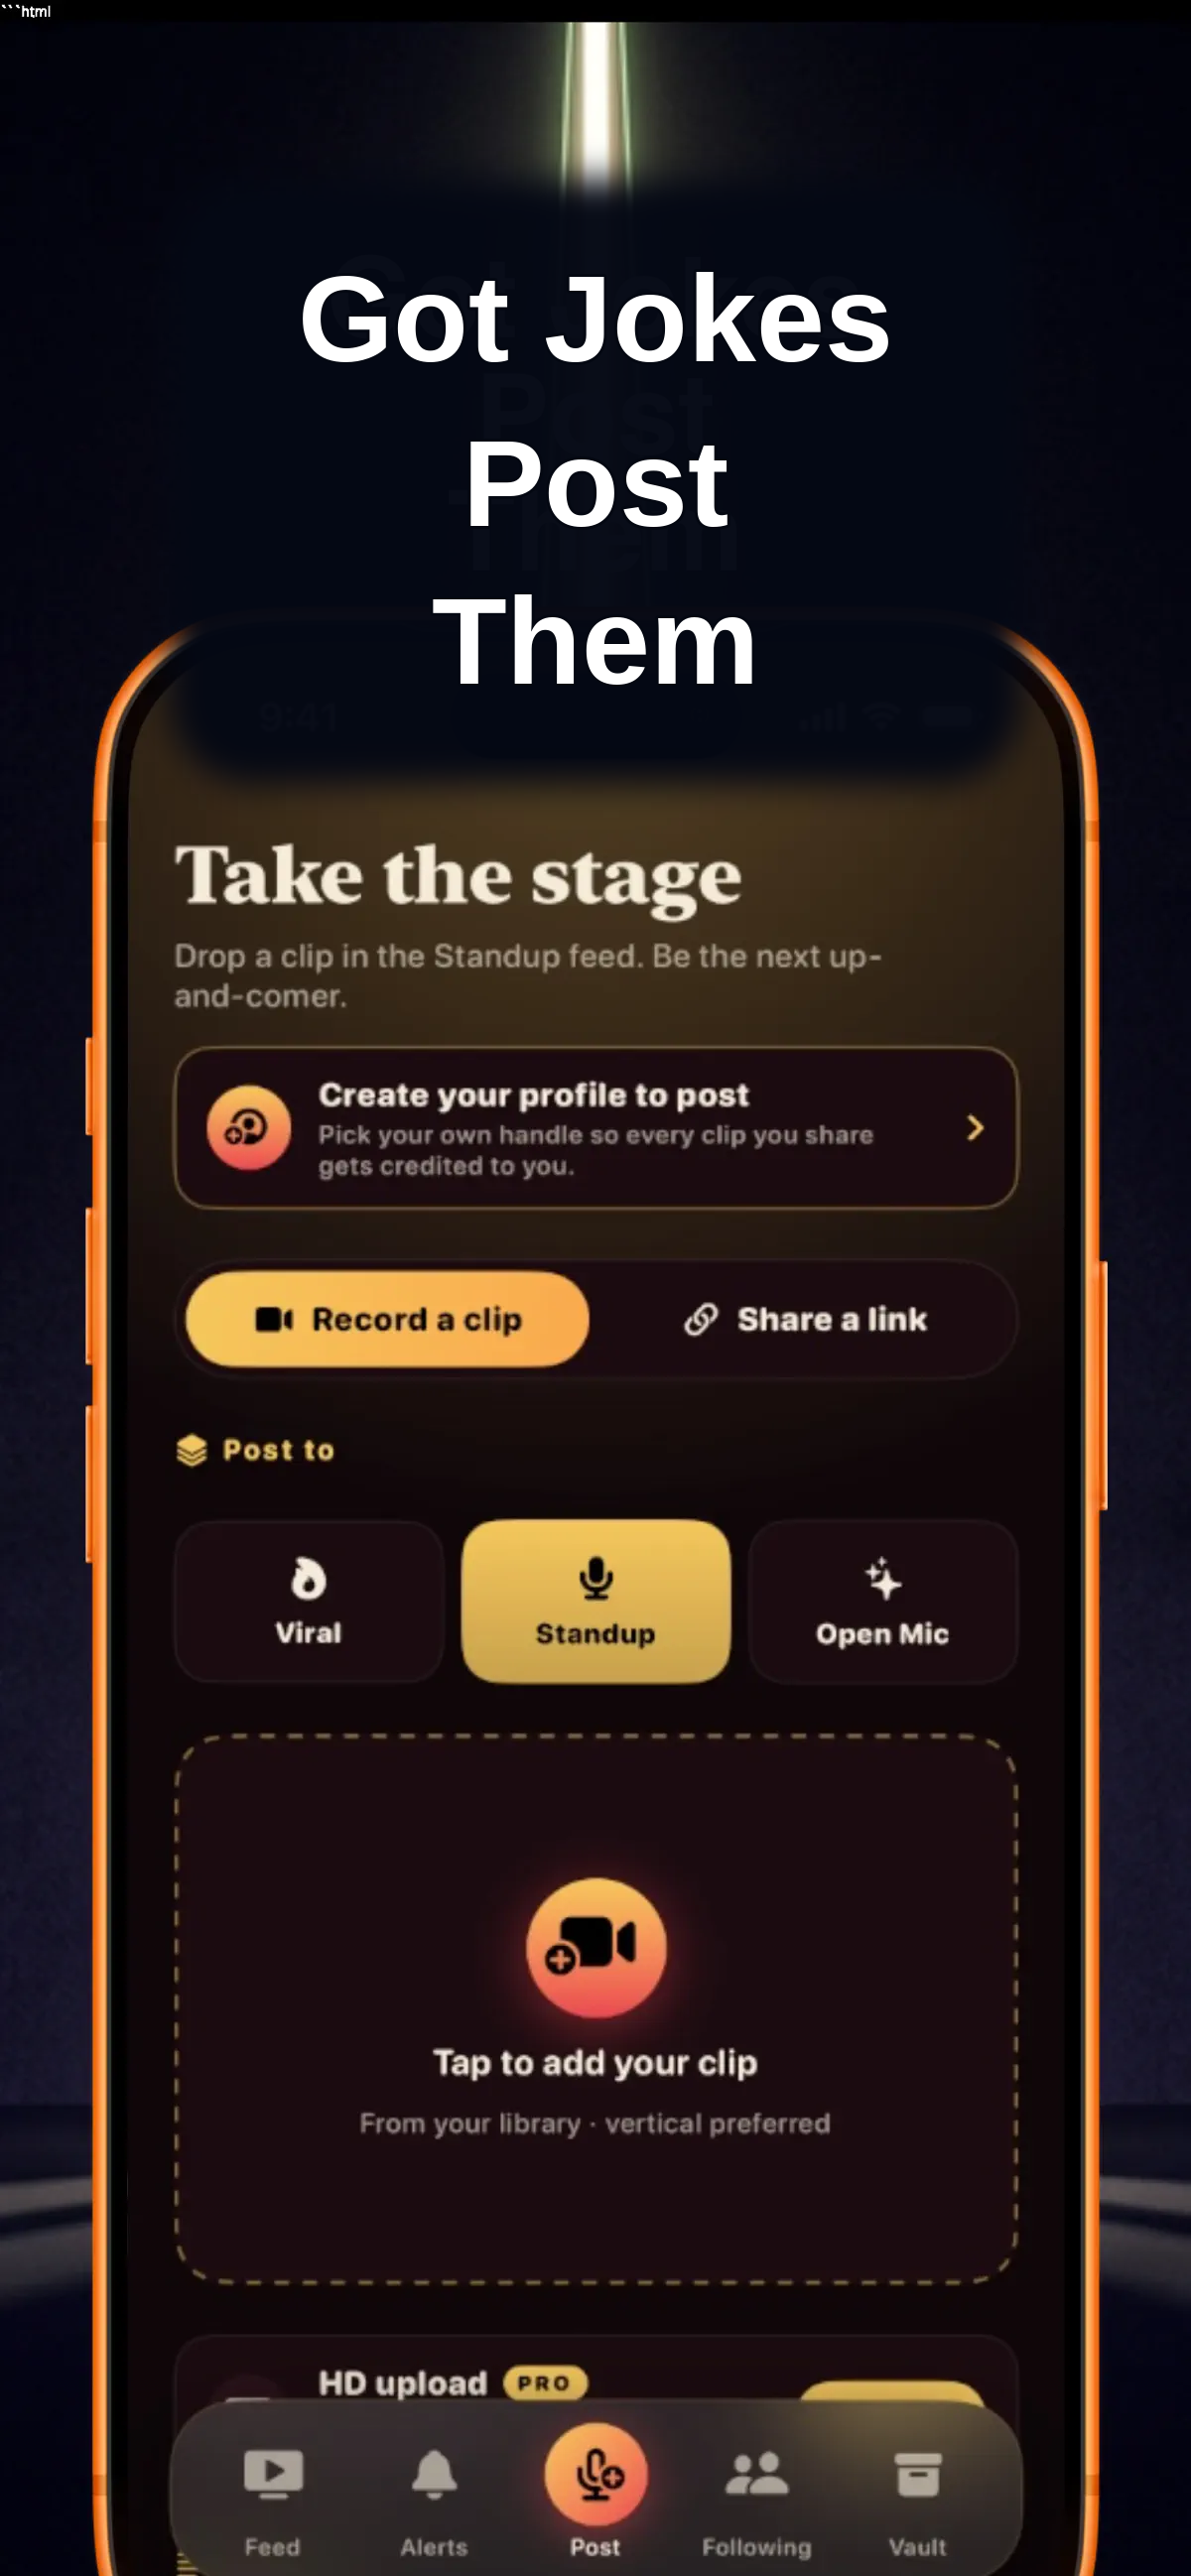
The Chuckle comedian profile flow is built for exactly that: give the clip a title and caption, choose its stage, and keep your posts in one place for people who want more. New material can fit the Open Mic feed; a set that is already working can sit in Standup. That distinction lets you share the work without pretending every clip is the final version.
Keep the live work first. Online response can be useful, but it is not a replacement for learning how a room hears the setup, when they laugh, or when they drift. The strongest early habit is simple: write, rehearse, perform, review, revise, repeat. It is not glamorous, which is probably why it works.
A simple first-month checklist
- Collect premises every day. Keep the details that make an experience yours.
- Build one short set. Give it a clear beginning, a few connected turns, and a closer.
- Say it out loud. Rehearse until the words sound like something you would actually say.
- Do one open mic. Treat it as information, not a final grade.
- Write a quick review afterward. Keep the useful notes while the night is still fresh.
- Return with one revision. Improvement comes from small, testable changes.
If you enjoy the process, the next steps will become obvious: more stage time, stronger bits, better clips, and eventually a longer set. You do not need to plan all of that before your first month. Start with the work in front of you, then let the repetition tell you what deserves more of your attention.
Frequently asked questions
Starting stand-up comedy FAQ
How much material do I need for my first open mic?
Bring more than the stage time you expect, but plan to perform one clear, rehearsed piece. If the mic gives three minutes, a three-to-four-minute set is enough. A small, complete set is more useful than a notebook full of half-finished ideas.
Do I need to be naturally funny to start stand-up?
You need curiosity, a point of view, and the willingness to test material. Being funny with friends can be a useful starting point, but stand-up gets better through writing, performing, listening to the response, and revising.
What should I talk about in my first stand-up set?
Start with a real experience, habit, frustration, or contradiction that you can describe specifically. The best beginner material usually gives the audience a quick sense of who you are and lets you build several jokes from one clear premise.
How often should a beginner do open mics?
Go often enough to learn from the room without treating every night as a verdict on your future. A repeatable rhythm, such as one or two mics a week when your schedule allows, gives you time to revise material between sets.